Mt. Ida Machining coordinates premium finishing and plating services
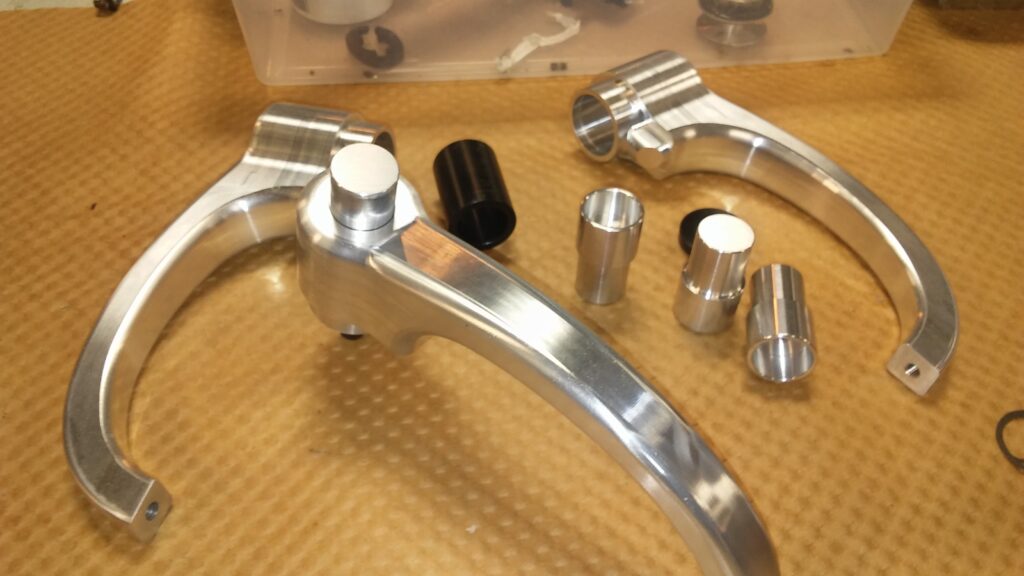
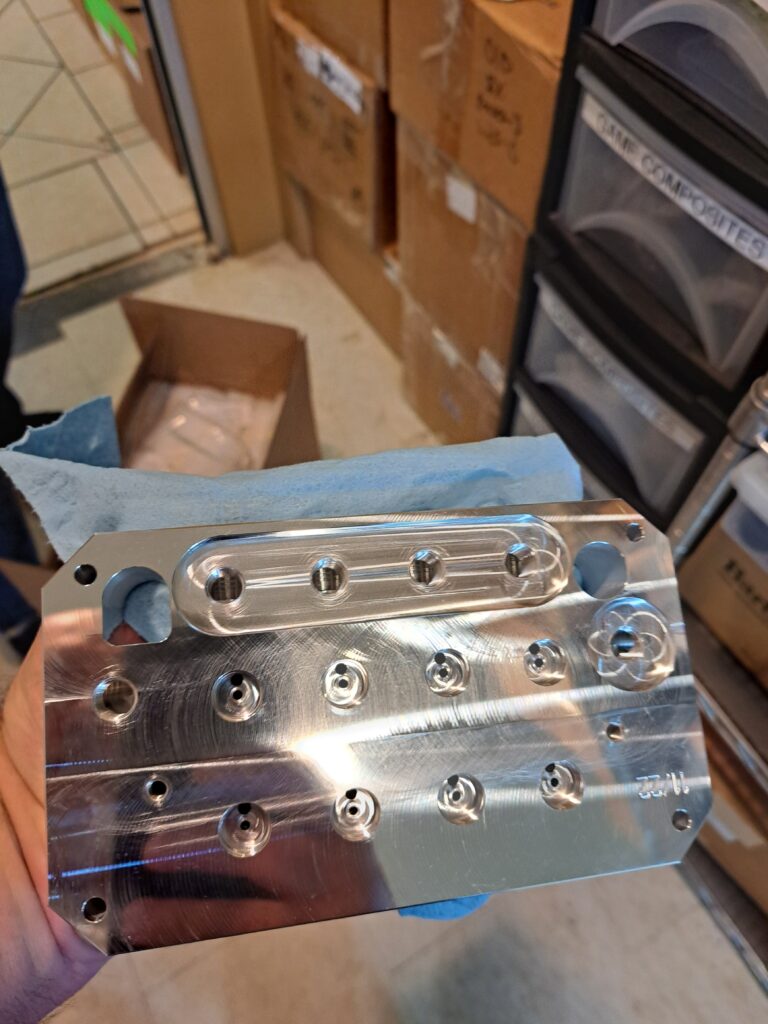
At Mt. Ida Machining, we understand that a superior finish is essential for both the performance and appearance of your components. Our Finishing & Plating services coordinate with a network of trusted vendors to provide high-quality processes that protect your parts from corrosion, wear, and environmental stress. We offer a variety of finishes—including anodizing, nickel plating, and cadmium plating—designed to meet the rigorous standards of industries like aerospace, automotive, and medical. By ensuring a consistent, durable finish, we help extend the life of your components while enhancing their aesthetic appeal.
Capabilities:
Quality Assurance
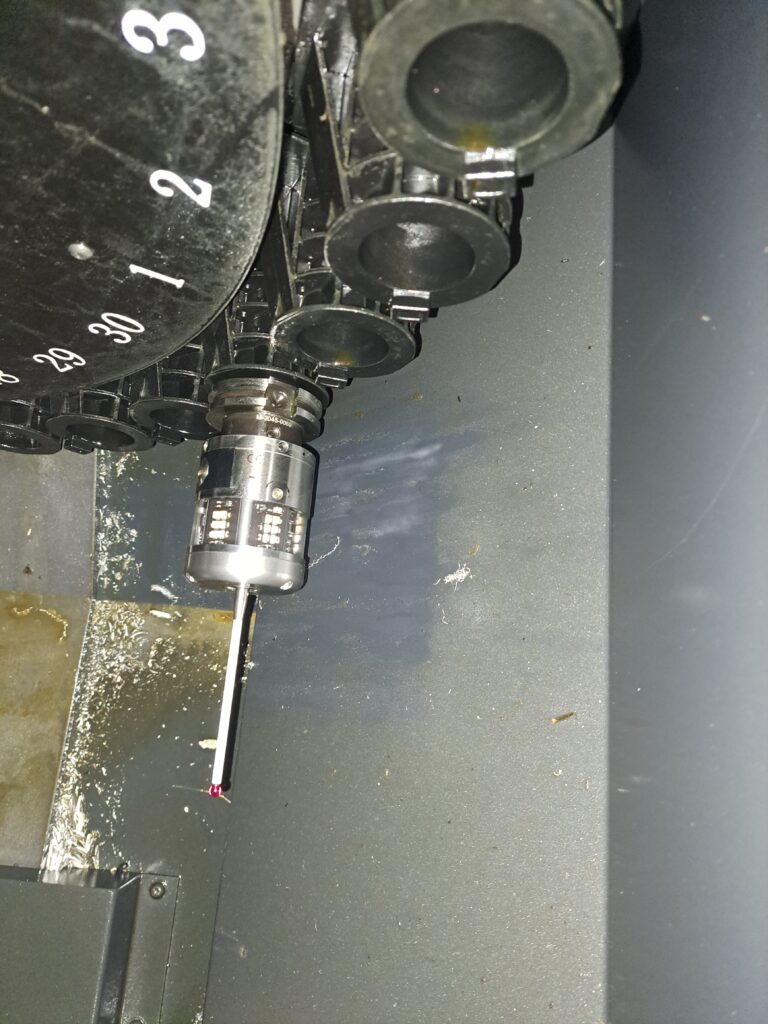
- We incorporate thorough in-process inspections and use calibrated measuring equipment to verify critical dimensions.
- Our Quality Management System, aligned with AS9100 and ISO 9001 standards, ensures traceability and documentation for every job.
Precision & Consistency
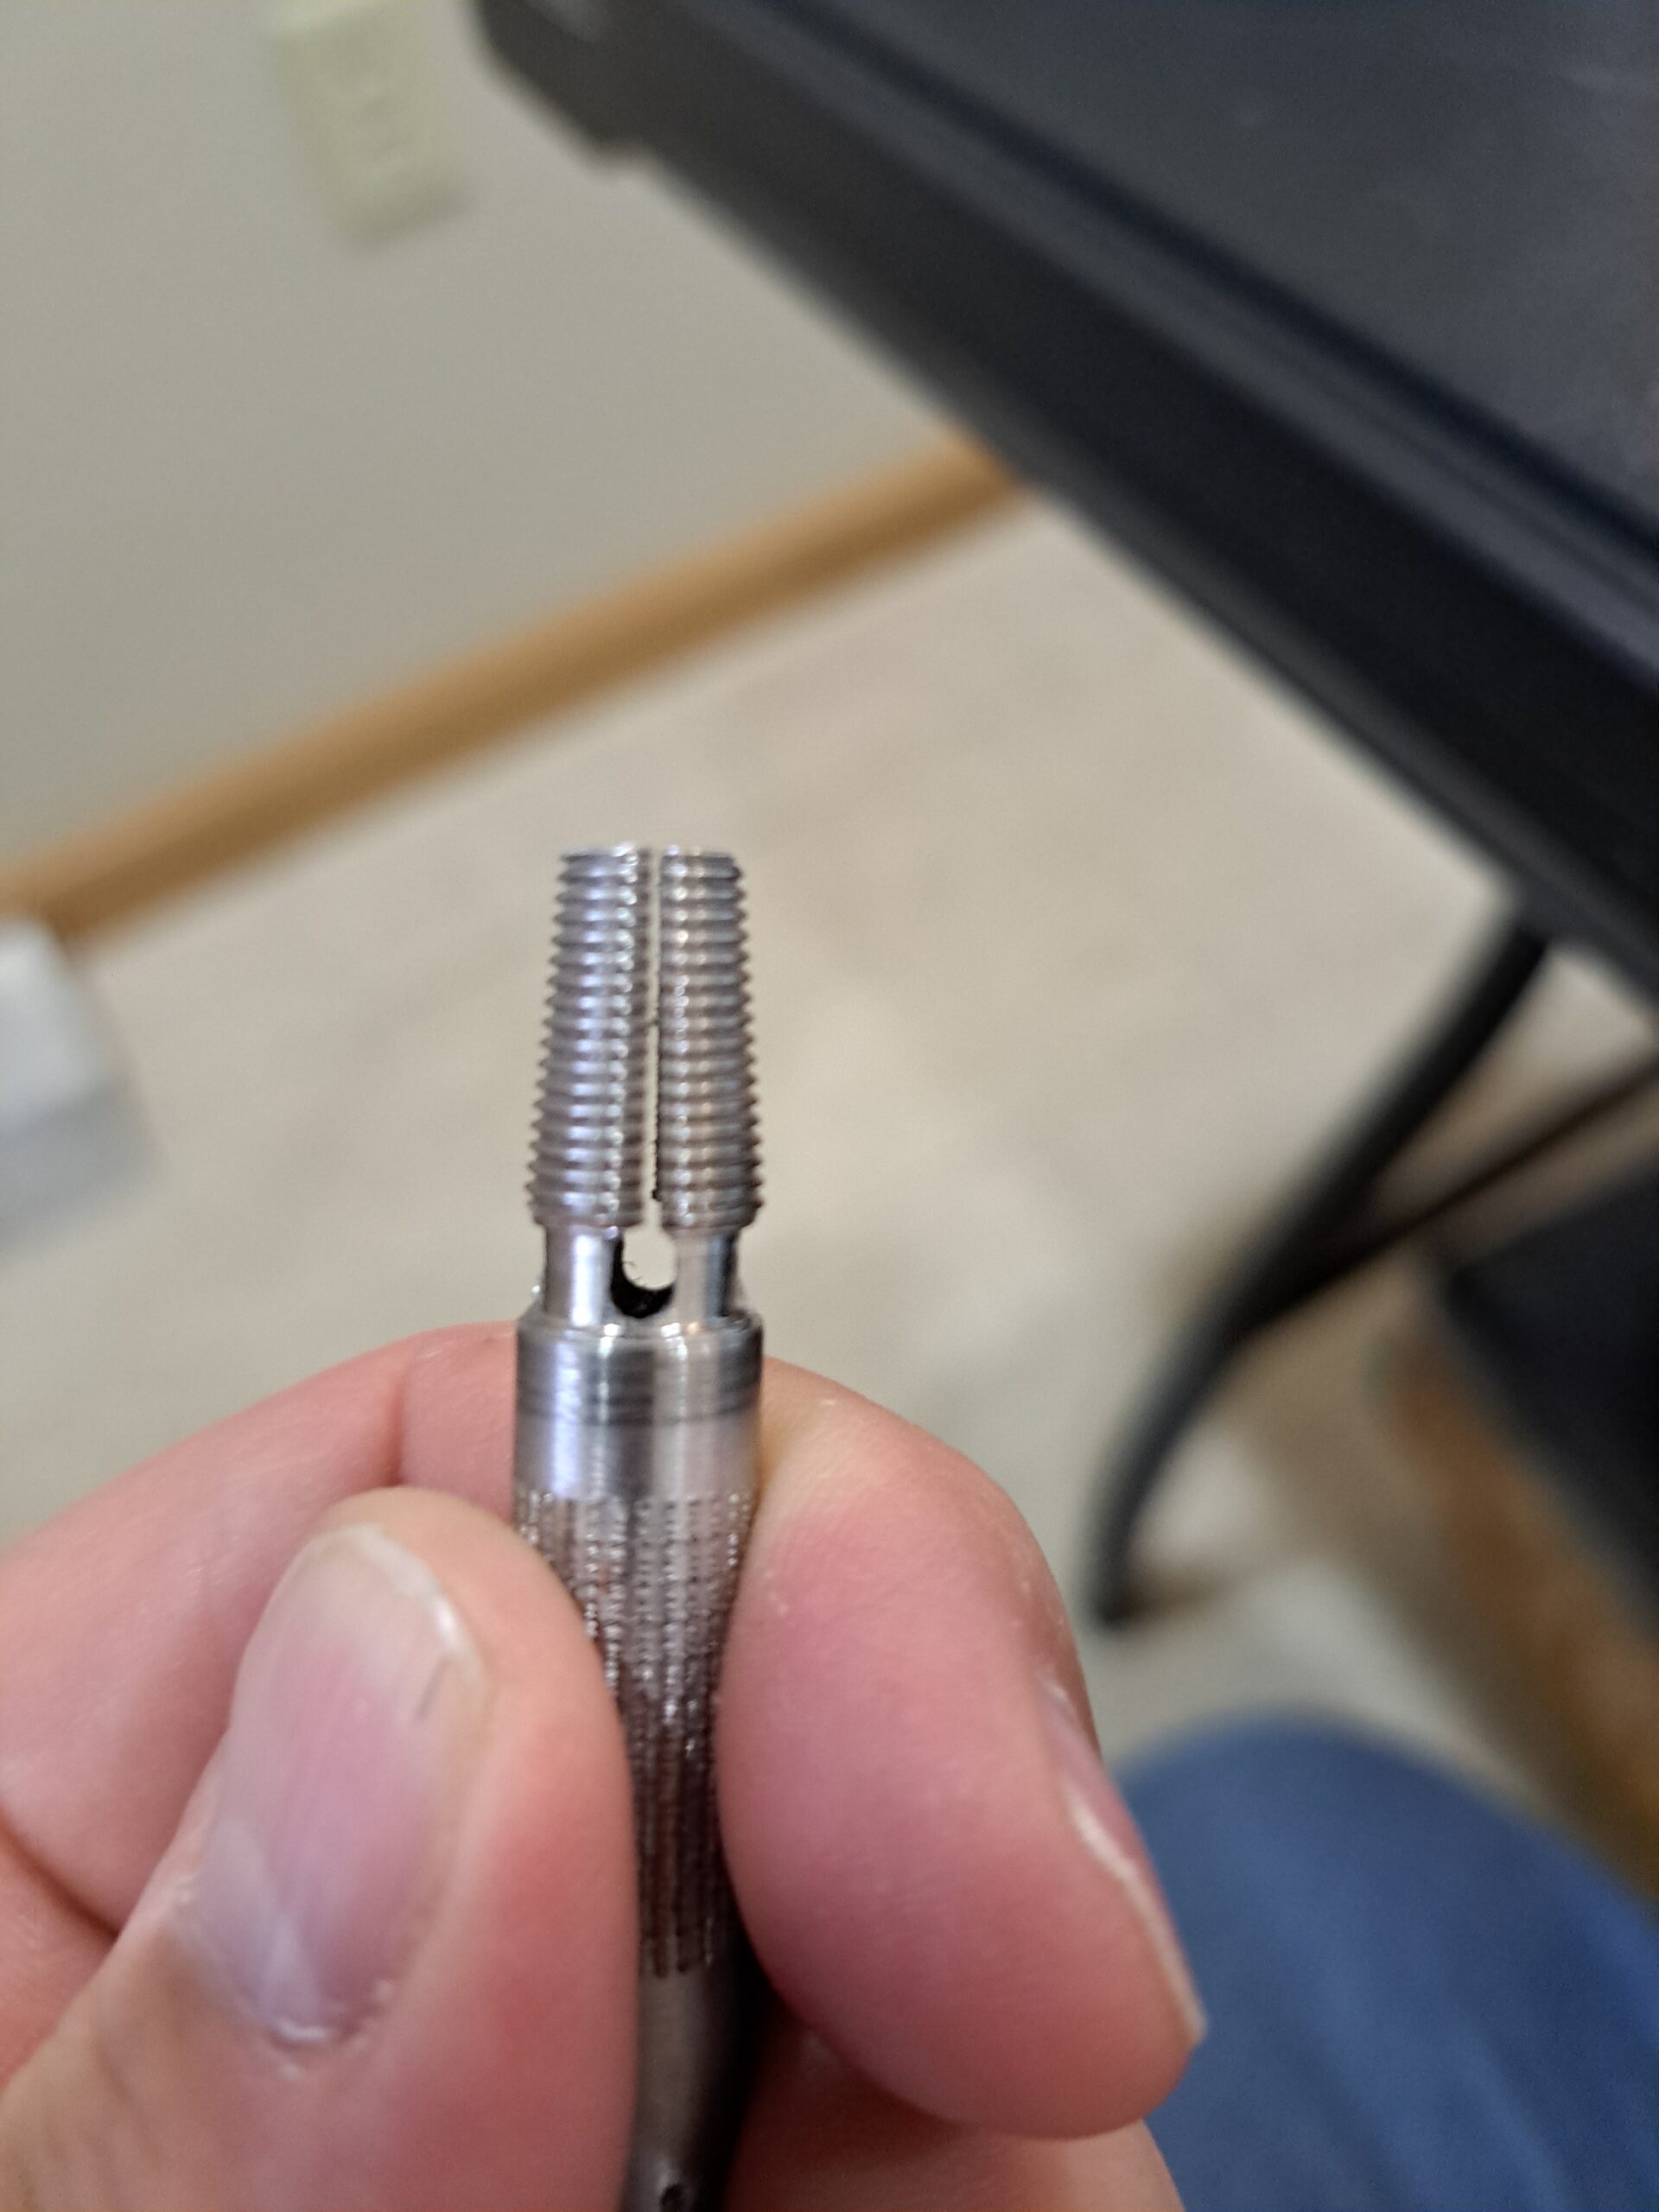
Advanced CNC controls enable tight tolerances for complex turned features like threads, grooves, and chamfers.
Broad Material Expertise
Experienced in machining alloy steels, stainless steels, aluminum, brass, bronze, titanium, and Inconel.
Frequently Asked Questions
Answer: We typically maintain tolerances as tight as ±0.005″ or better, depending on part geometry and material. We use in-process inspections and calibrated measuring tools to verify critical dimensions.
Answer: We handle a wide range of metals, including alloy steels, stainless steels, aluminum, brass, bronze, titanium, and Inconel. Our team optimizes feeds, speeds, and tooling for each material to ensure precision and efficiency.
Answer: Absolutely. Our flexible setup accommodates everything from one-off prototypes to high-volume production. We use lean manufacturing principles to keep turnaround times and costs competitive, no matter the order size.
Answer: CNC Turning uses a rotating workpiece and stationary cutting tools to create cylindrical or round parts, whereas CNC Milling uses a rotating cutting tool and a stationary workpiece for complex shapes and surfaces. Turning is ideal for shafts, bushings, and other parts with rotational symmetry.


